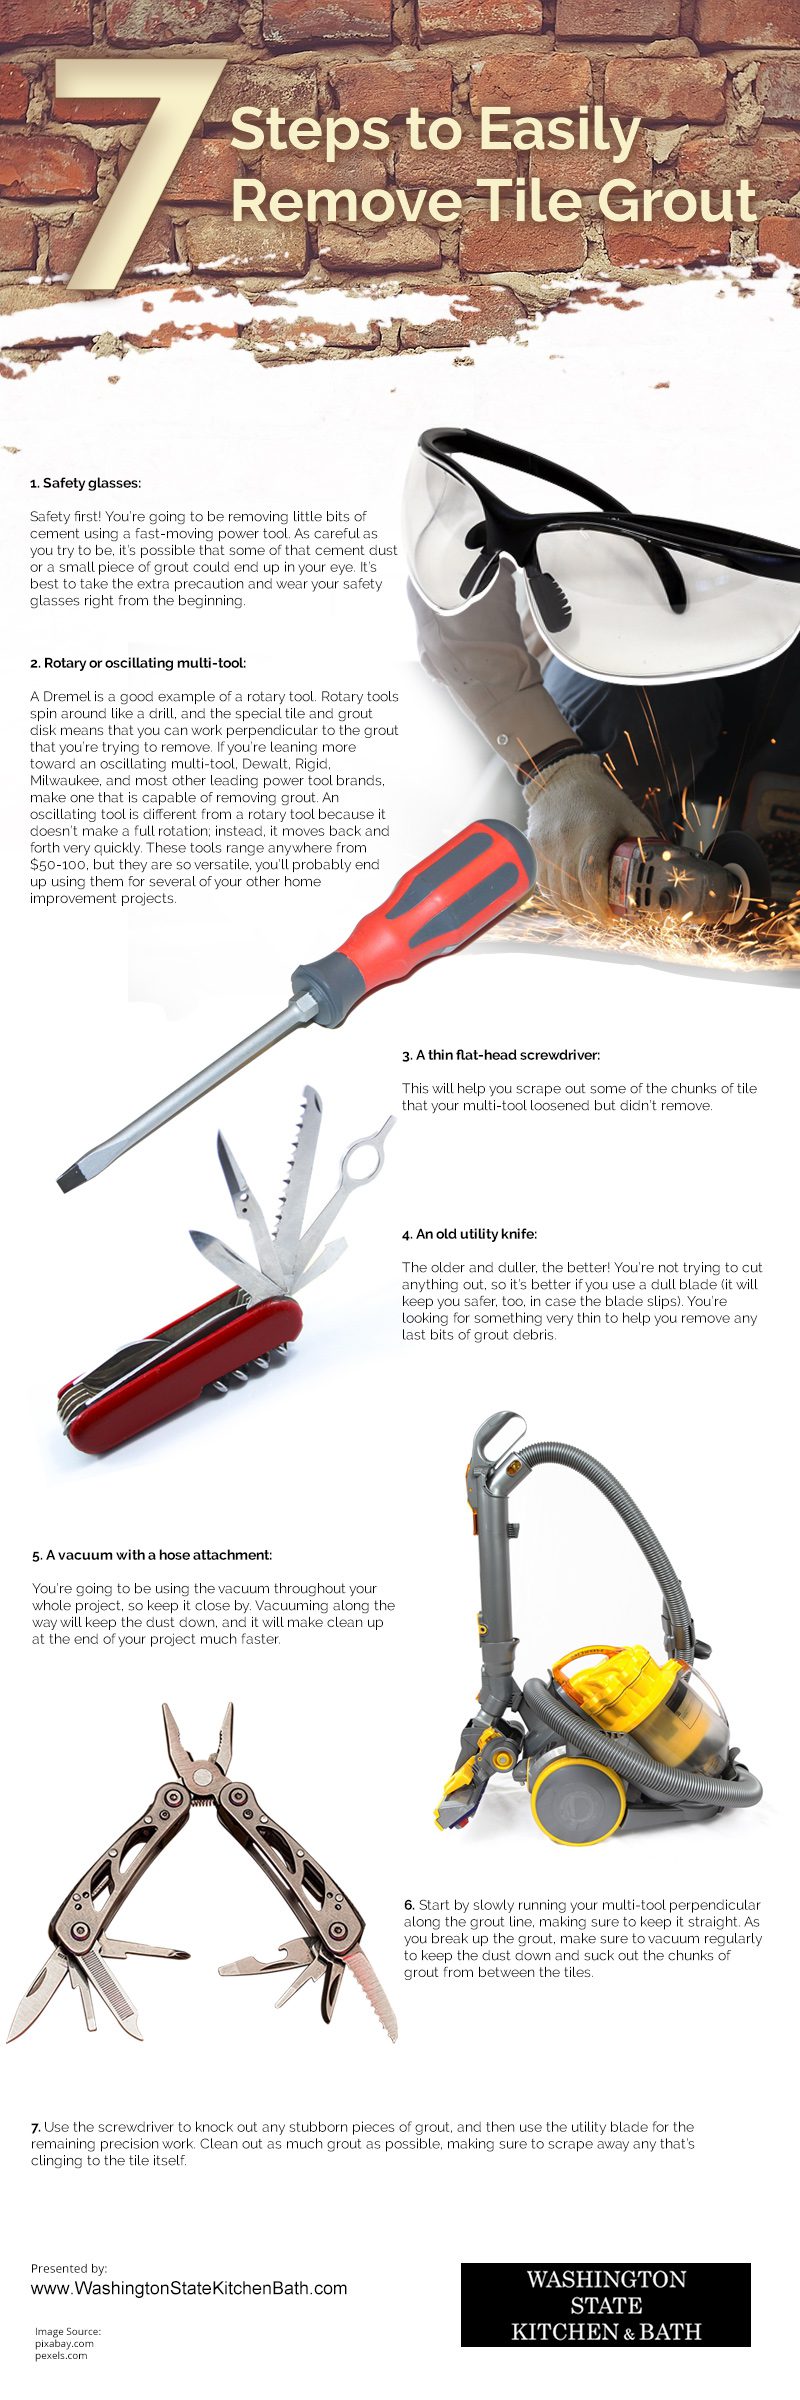
Are your kitchen or bathroom tiles starting to look bad? Is the grout cracking, staining, and coming loose? Then it’s about time you remove it and regrout. Removing tile grout can be done by homeowners, there is no need to spend money and have a professional do it. It might be a task that you’ve been keeping off for weeks even months but you can do it for a day depending on the tile filed you must take on. If the reason for dreading this task is because of inexperience, then this 7 steps guide to removing tile grout easily can help.
1. Wear safety glasses. Safety is your first priority and since you are removing bits of cement using power tools. Despite being careful, there will still be some cement dust and small pieces of gout that could penetrate your eyes. Take extra precautions and wear safety glasses before starting to work.
2. Use a rotary or oscillating multi-tool. One example of a rotary tool is a Dremel. This type of power tool spins around like a drill and allows you to work perpendicular to the grout making it easier to remove. For oscillating multi-tools opt for the leading brands like Dewalt, Rigid, and Milwaukee. These tools move back and forth very fast and don’t rotate, unlike the rotary tool. You can buy these tools for $50 to $100 and since they are versatile, you can use it on other home improvements you might have.
3. A thin flat-head screwdriver can help. Multi-tools are great in loosening the grout but sometimes there are some left. This is where the thin flat-head screwdriver comes in handy. It can help scrape out some of the loosened chunks of the grout.
4. An old utility knife will also do. A new knife won’t do, opt for old and dull since you are not trying to cut anything with it. It is better to use an older and duller knife in case the blade slips you won’t get injured badly. The old utility knife is useful in removing the last bits of grout debris thanks to its thin body.
5. Keep a vacuum with a hose attachment nearby. A vacuum is a must for this project so make sure to keep it close. This will keep the dust down if you vacuum along the way. Cleaning up will also be faster by the end of your project.
6. Start slow but sure. Run your multi-tool perpendicular along the grout line and start slowly. Break down the grout and vacuum regularly to keep the dust down. Let the vacuum suck the chunks of grout in between the tiles to help you get a good idea of where to go back and make another pass. To cut through more grout underneath angle your multi-tool to 90 degrees.
7. Work precisely. The screwdriver will be used to knock out any stubborn pieces of grout then the utility blade will take care of the remaining precision work. Make sure that you scrape away any grout clinging to the tile itself for a clean after work.
source: https://www.washingtonstatekitchenbath.com/articles/removing-tile-grout-is-easier-than-you-think/
Comments
Download this infographic.
